How to Install GTA 6 Mods – Complete Guide (PC & Consoles)
Installing GTA 6 mods will transform your game with new vehicles, weapons, maps, graphics, scripts, and missions. While Rockstar has yet to confirm official modding tools for Grand Theft Auto 6, the process is expected to be very similar to GTA 5 mods installation. Below is a step-by-step guide to help you safely install GTA 6 mods on PC and understand what’s possible on consoles.
⚠️ Important: Always back up your original GTA 6 files before adding mods. Mods are typically allowed only in single-player mode. Using mods in GTA Online can result in a ban.
1. Download GTA 6 Mods from Trusted Sources
Find a reliable GTA 6 mods site or the official mod hub once Rockstar releases it. Download your desired mod and save it to a dedicated folder. Keeping all your mods organized in one location helps manage updates and troubleshoot conflicts.
2. Extract Mod Files
Most GTA 6 mods will come in a compressed .zip or .rar archive. Use tools like WinRAR or 7-Zip to extract them into a temporary folder. Always read the included README file for installation instructions, as some mods may require additional steps.
3. Locate Your GTA 6 Installation Folder
For PC users (Steam or Rockstar Launcher), the default path may look like:
C:\Program Files (x86)\Steam\steamapps\common\Grand Theft Auto VI
Look for files like GTA6.exe to confirm you’re in the right directory.
4. Install Mods Manually or with a Mod Manager
GTA 6 will likely use a mod manager similar to OpenIV or a new official Rockstar tool. Two common installation methods:
- Manual Installation: Copy and paste the mod’s files into the appropriate folders (e.g., vehicles, scripts, textures). Replace files only if instructed.
- Using a Mod Installer: If GTA 6 supports .OIV packages or similar one-click installers, open the file with the mod manager, review details, and click install. This method is safer and helps maintain a clean “mods” folder.

5. Different Types of GTA 6 Mods and How to Install Them
- Add-on Mods (Vehicles, Maps): Placed in a dedicated mods folder. Requires adding entries to a configuration file like dlclist.xml (expected to return in GTA 6).
- Replacement Mods: Replace existing in-game assets. Follow the mod creator’s instructions carefully.
- Script Mods: Usually placed in a scripts folder and require a script loader like ScriptHookV (GTA 5) or its GTA 6 equivalent.
- Graphics & ENB Mods: Copy files into the root directory. They may require editing configuration files for advanced visual effects.
6. Configure Mod Settings
Many mods include .ini files that let you adjust settings like FOV, controls, or custom spawns. Open these files with Notepad or another text editor to personalize your GTA 6 experience.
7. Launch GTA 6 in Single Player
After installing mods, start the game in story mode. Test each mod individually to ensure stability. If the game crashes, double-check file paths and compatibility.
8. Keep Mods Updated
As GTA 6 receives patches, mods may need updates to remain compatible. Always check for the latest version of your mods and update them as needed.
9. Modding on Consoles
Historically, console modding is limited. GTA 6 on PS5 and Xbox Series X/S may support curated mods via official Rockstar channels, but true custom mods will likely remain a PC-only feature.
Why GTA 6 Modding Will Be Bigger Than Ever
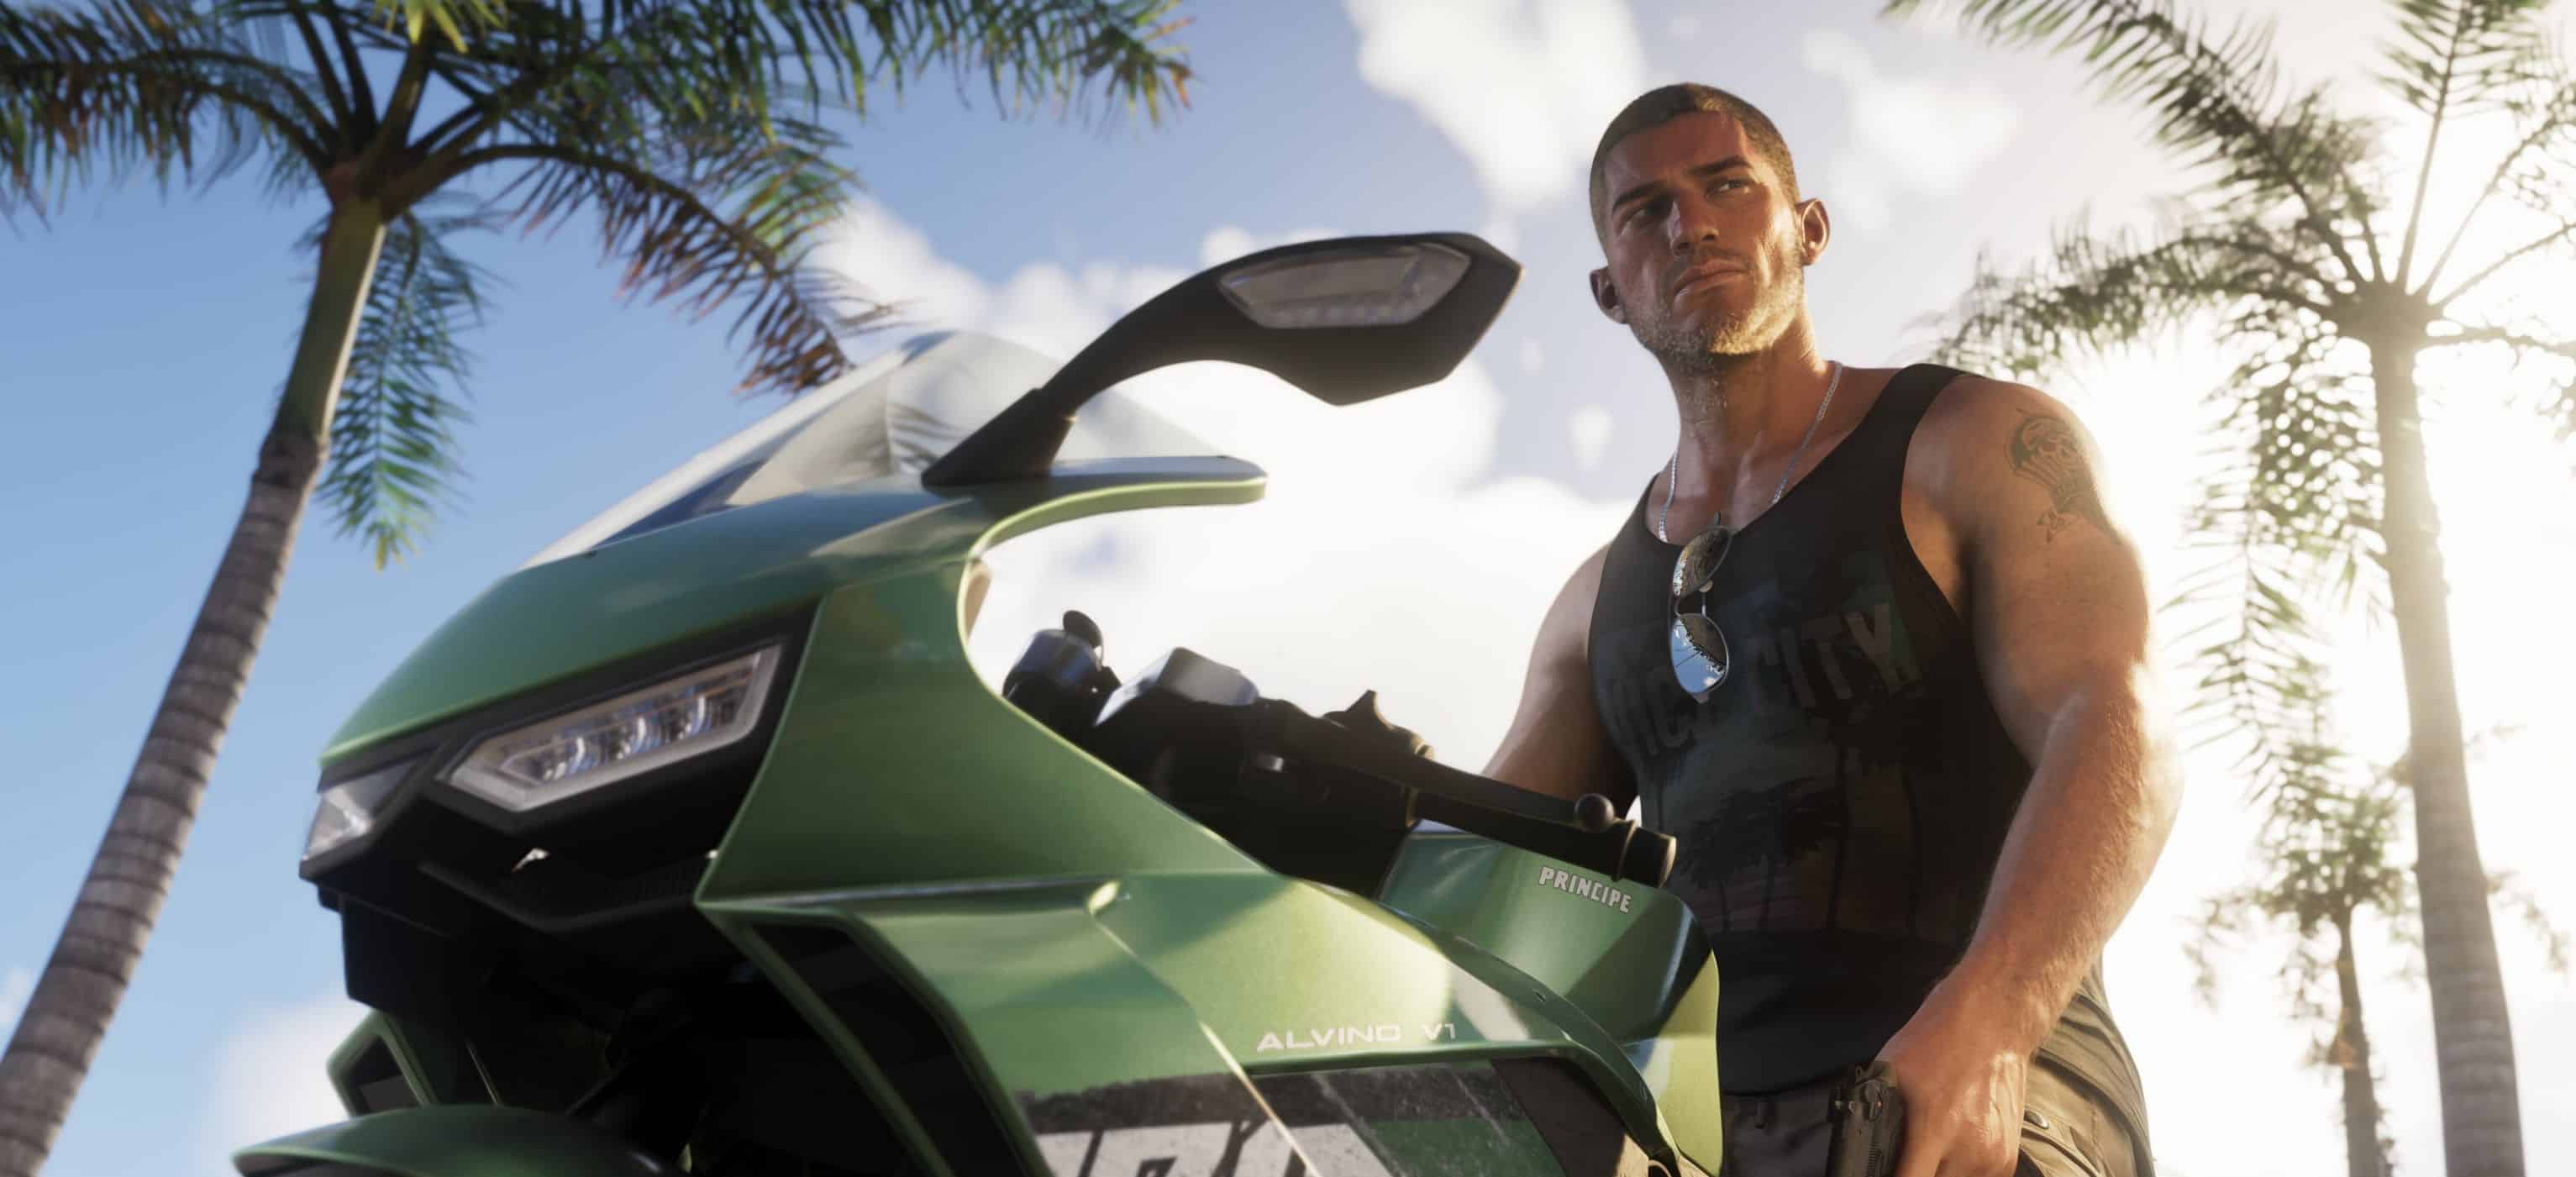
With the advanced RAGE engine, GTA 6 will support more detailed graphics, expansive maps, and complex AI. Mods will likely include ultra HD textures, new Vice City-style maps, realistic weather systems, and user-generated missions, taking creativity to a whole new level.
Modding Grand Theft Auto VI will enhance replayability and open endless creative opportunities. Follow this guide to safely install GTA 6 mods and keep your game secure and optimized.


Useful Information: How to install GTA 6 Mods? | Grand Theft Auto 6 News | GTA 6 System Requirements | GTA 6 Release Date